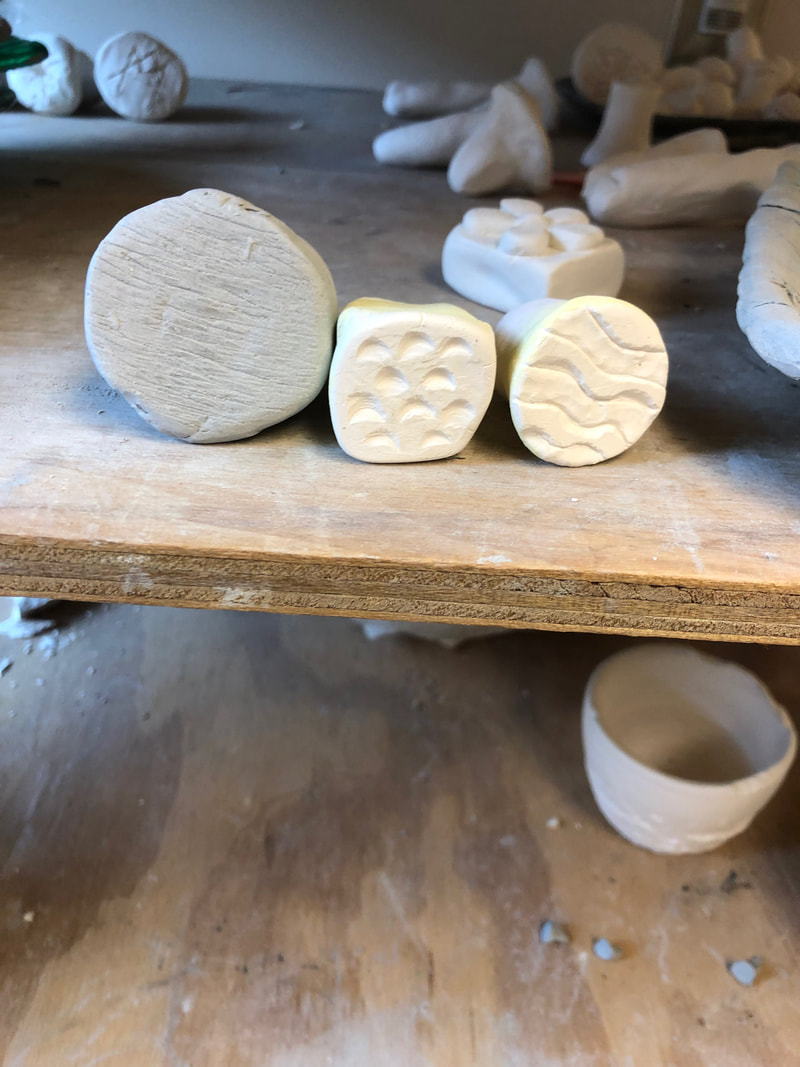
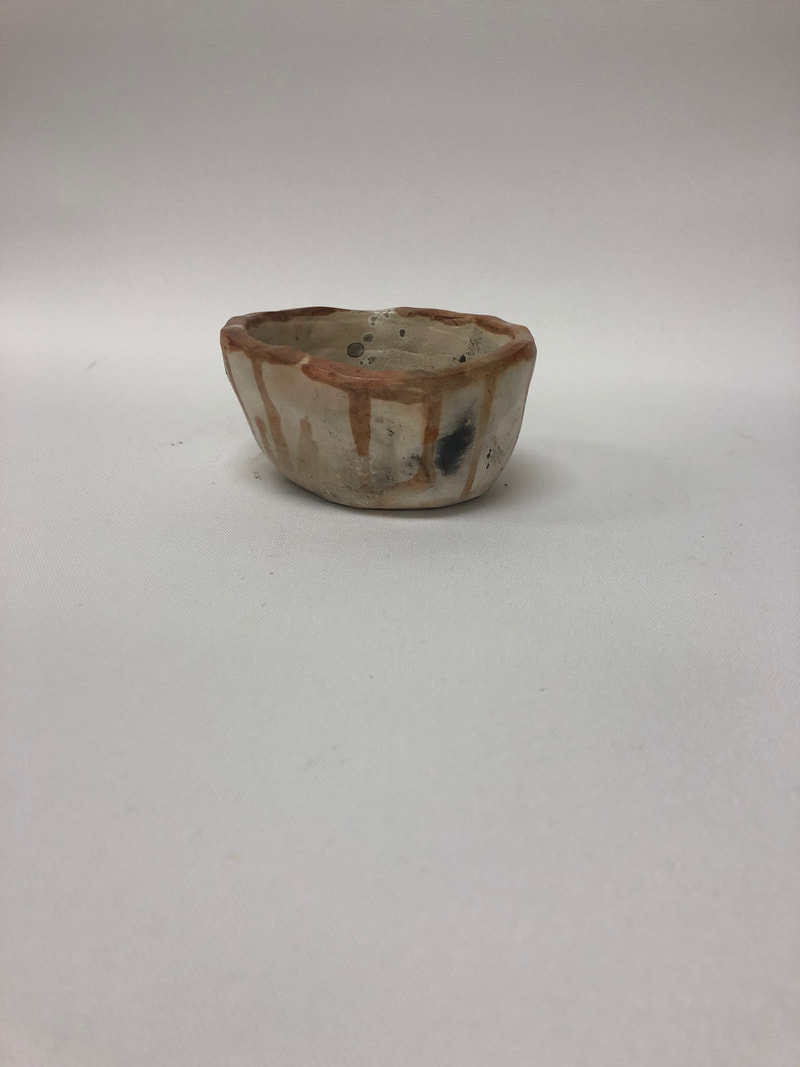
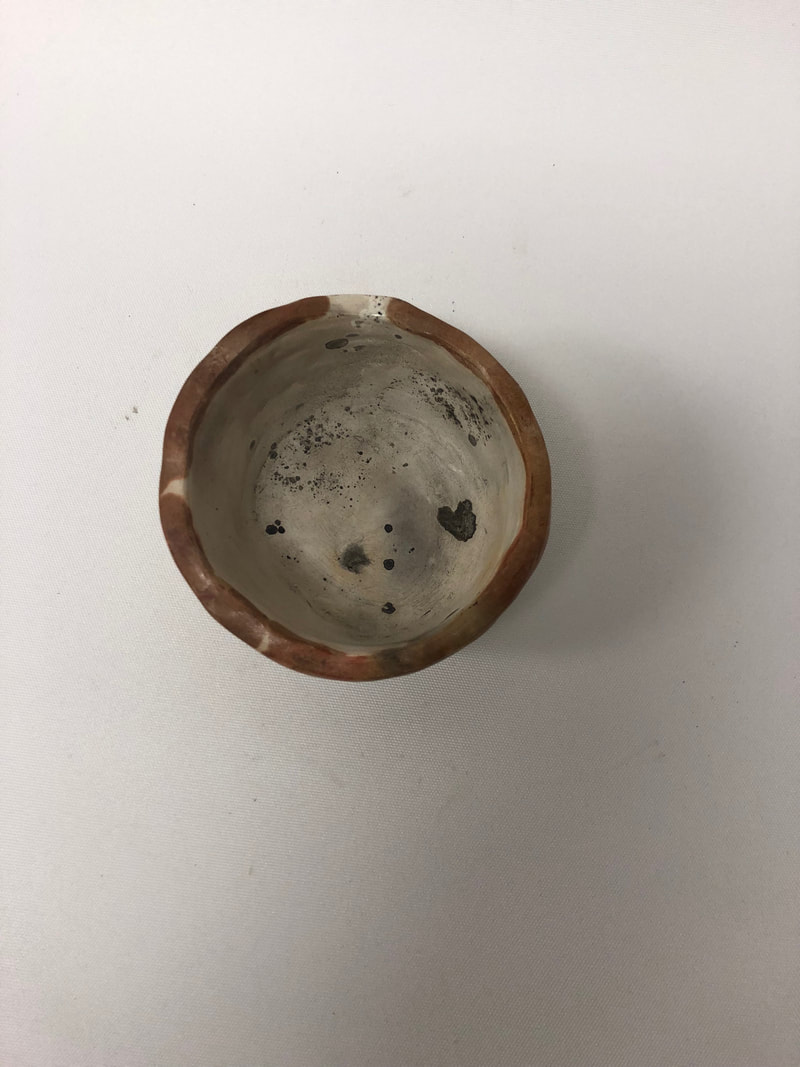
In progressAt this point in time, I have just created the shape of my pit fire piece using the coil method. I have begun to let it dry so I can varnish it using a spoon. I've run across a few difficulties, in making the shape. I had to start over once already because the coils were just too soft and the shape wasn't holding. After the piece gets hard enough, I'm going to varnish it with the spoon then fire it. I'm looking forward to placing all the random things around it to see how they burn on. Finished PieceTo make a pit fire piece we began by using a coil method to create the shape. After the shape a was made, and we let it harden, then we varnished the piece using a spoon and a little glass rock thing, that made it shiny. After it was fired in the kiln, we put a bunch of flammable materials around the piece, as well as some acid stuff on it to create different colors when we put it in the pit fire. To be quite honest I don't think my piece was successful at all, except for the little acid drips around the side and rim. The colors didn't show up well and the shape is very crackly. I burned some egg shells, wood, sticks, some plant thing, and some acid on my piece. If I were to do this again, I would do a different shape that was a little more round, and a little smaller. I would also put so more stuff around it before getting thrown in the fire so it created so more vivid colors.
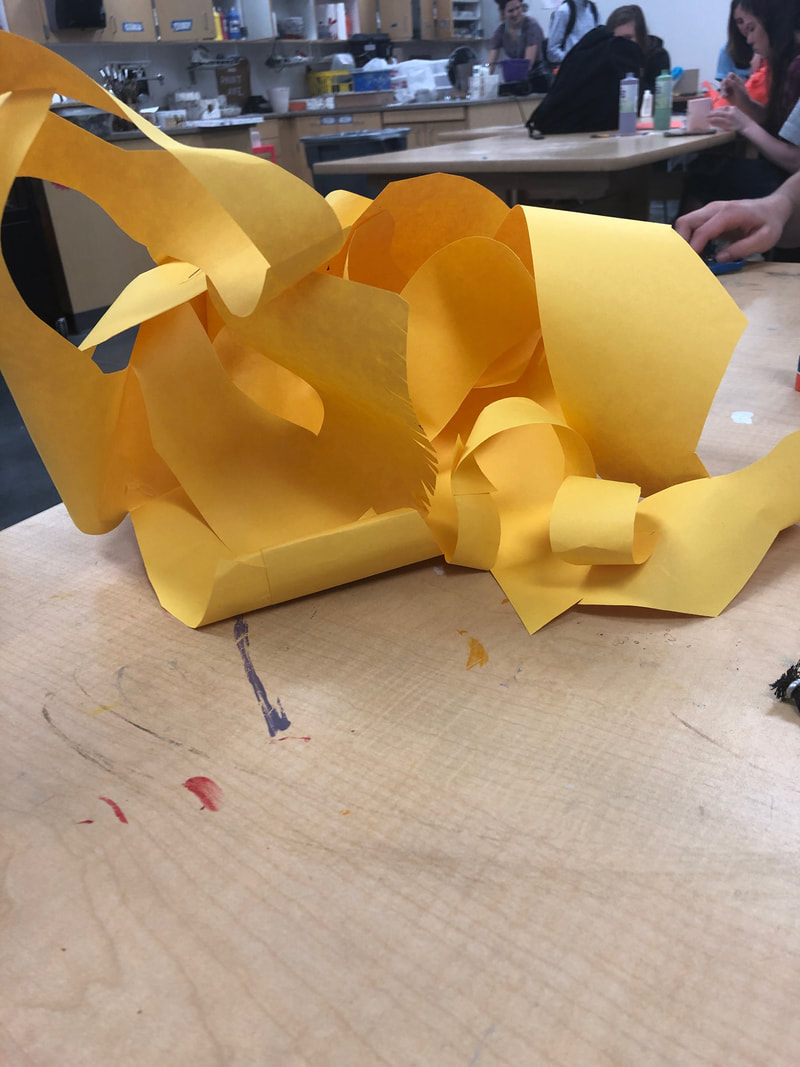
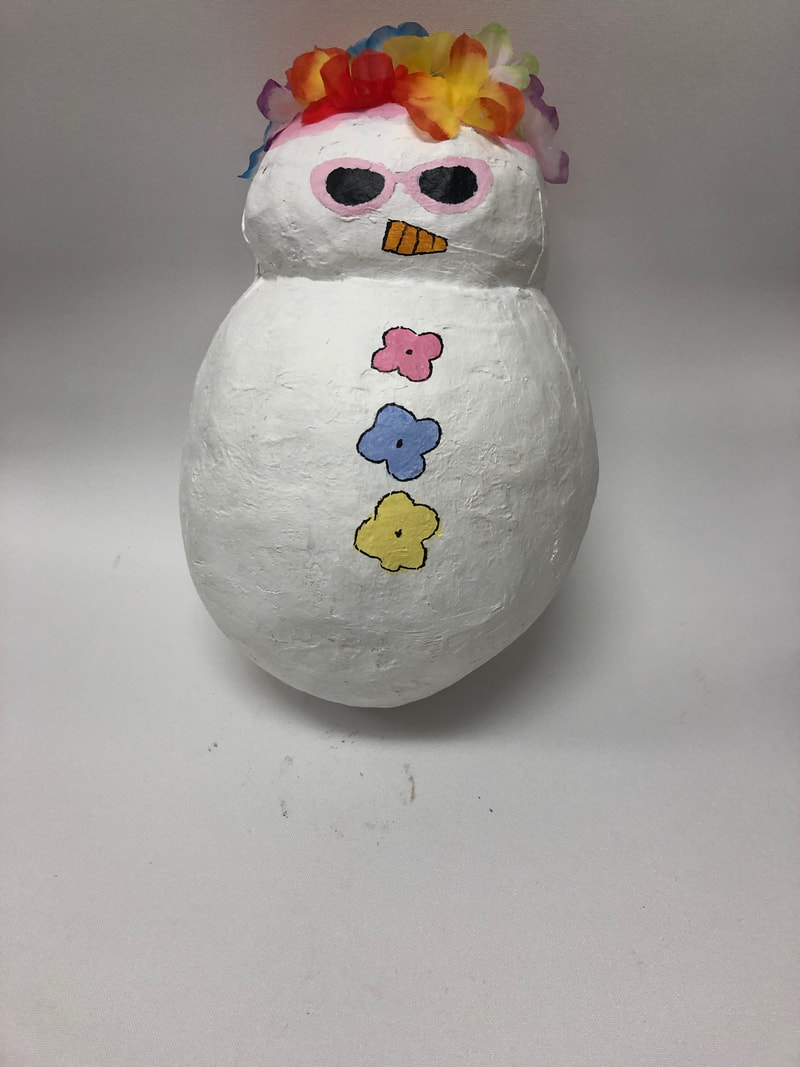
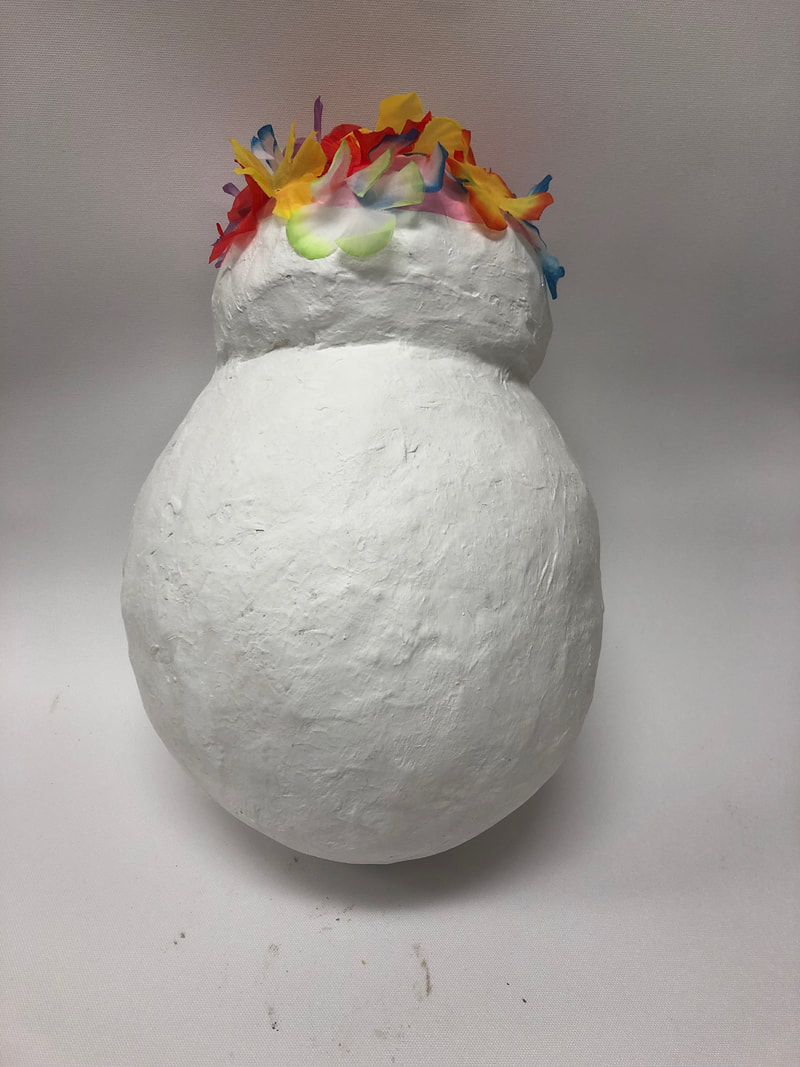
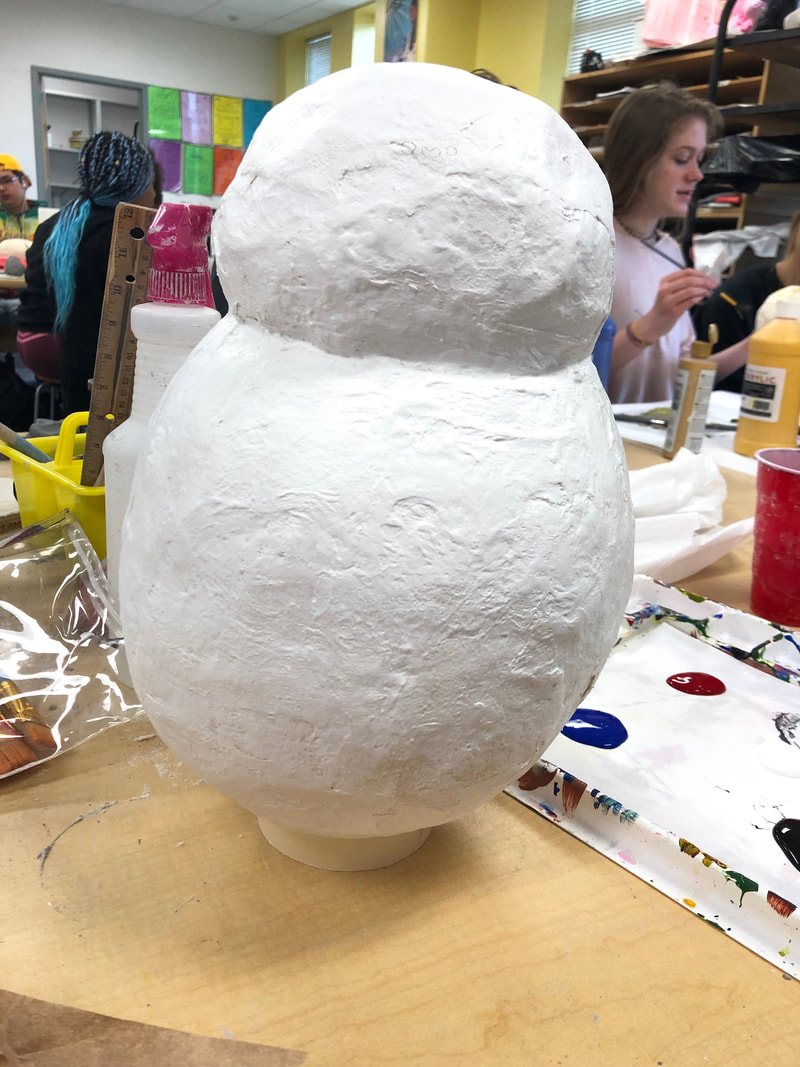
For this project we were instructed to make Paper Mache pieces. I decided to do a snow"gran" that was in a summer theme. To paper mache you need to create a from using really any material. After the form is made you create a mixture of flour and water and tear up newspaper into strips. Then you coat the strips in the mixture and lay it on the form. After doing a couple coats, letting it dry in between, you do a layer using these paper towels with no bumps. Let that dry, sand it, then paint it with acrylic paint. My piece was successful in the overall painting and design at the end. I had a lot of struggles with the form of the piece. It was originally gonna be Baymax, from Big Hero 6, but I had a lot of problems with making the arms and legs, so it turned into a snowman.
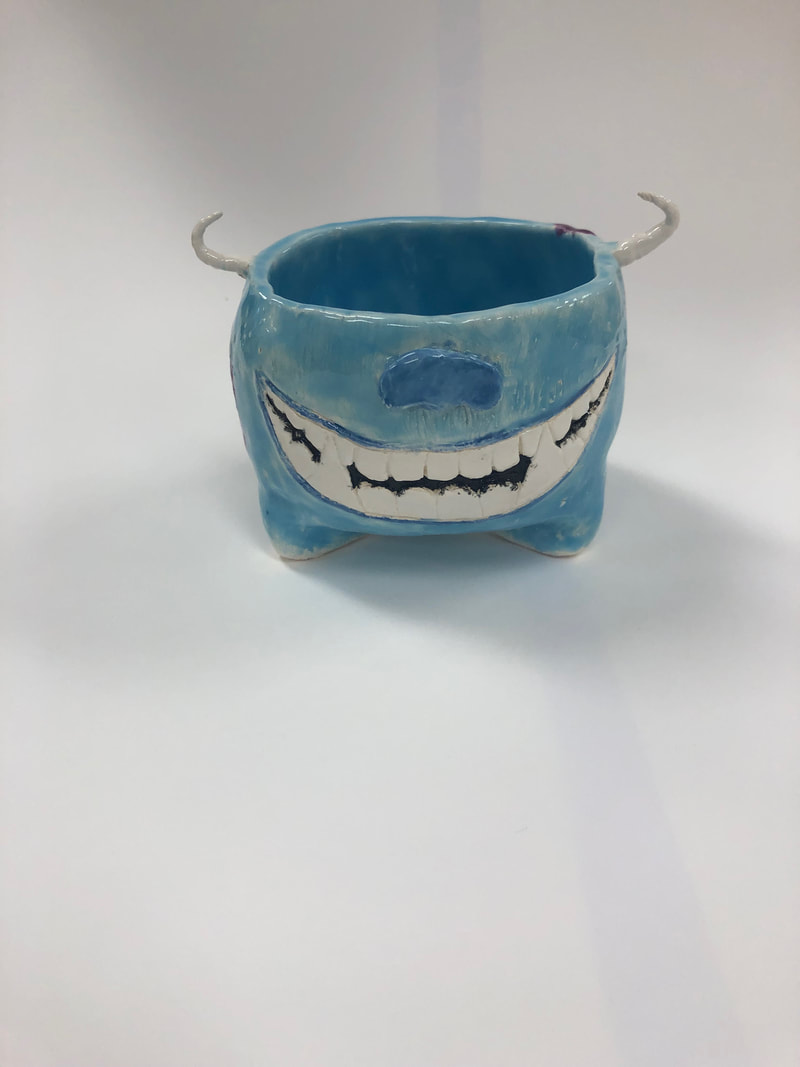
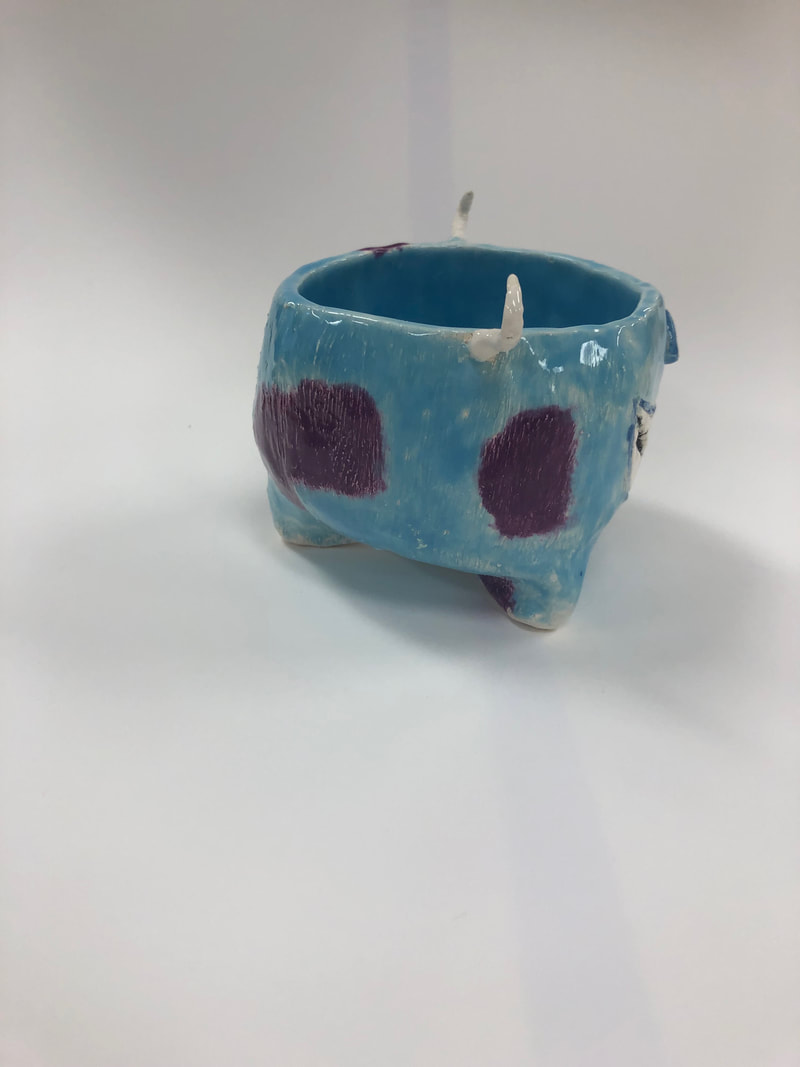
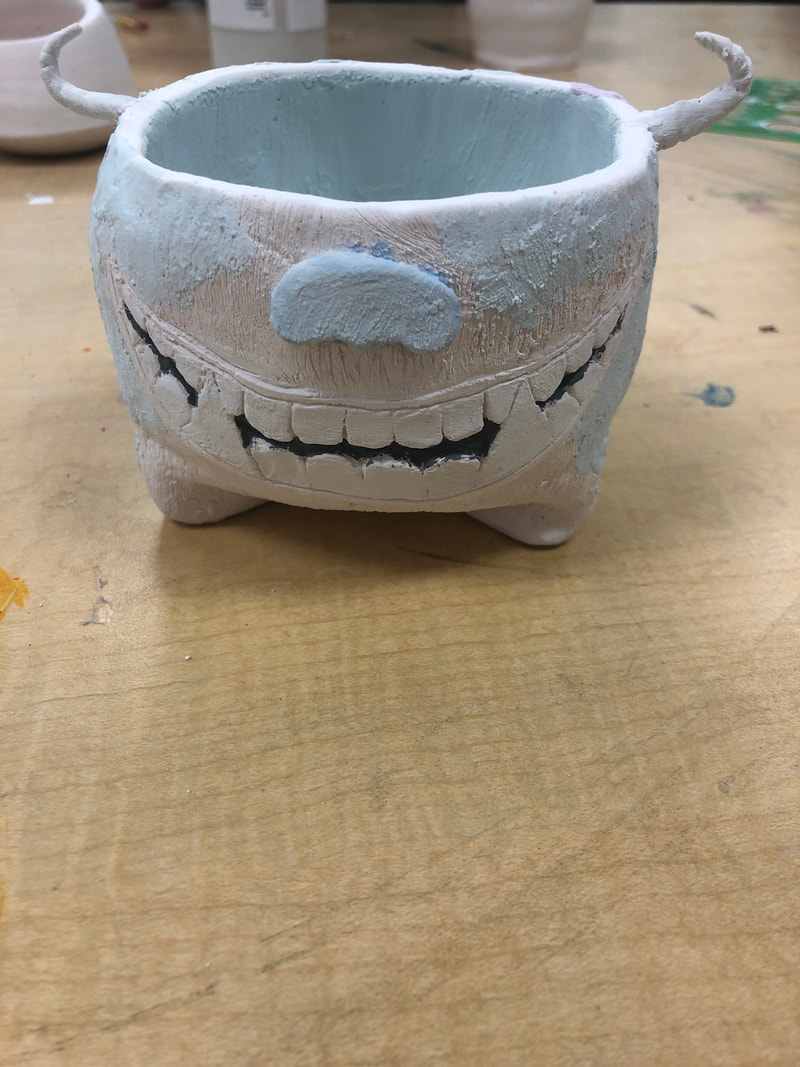
For this project we were instructed to make a Tripod mug, or a mug with 3 legs. I decided to do Sully from Monster Inc. To make the mug we created a slab of clay using the slab roller and rolled it into a tub. From there we constructed the 3 legs by using a pinching method on the bottom. Once the legs were created we created the rest of the shape my pulling and spreading the initial tube we created. I decided to not include a handle because I made it more of a bowl rather than a mug. I think I made the mouth and the details really well, but if I were to do it again I would spend a little more time on the shape to make it exactly how I want it. A clay slab is clay that is rolled out into a thin sheet that can be manipulated into new shapes.
|
AuthorWrite something about yourself. No need to be fancy, just an overview. ArchivesCategories |
 RSS Feed
